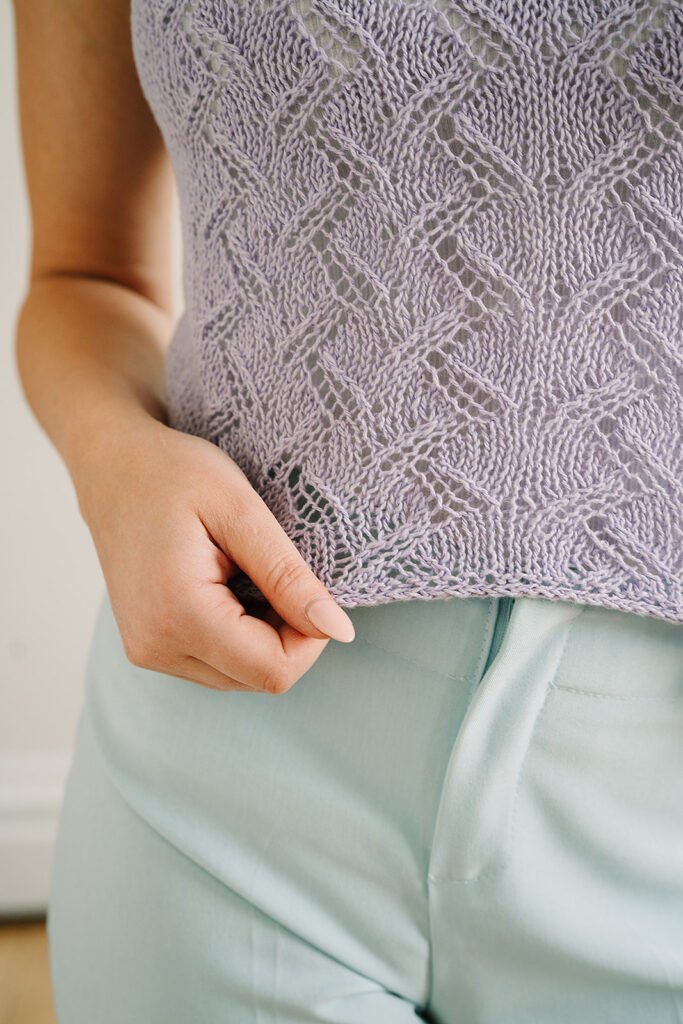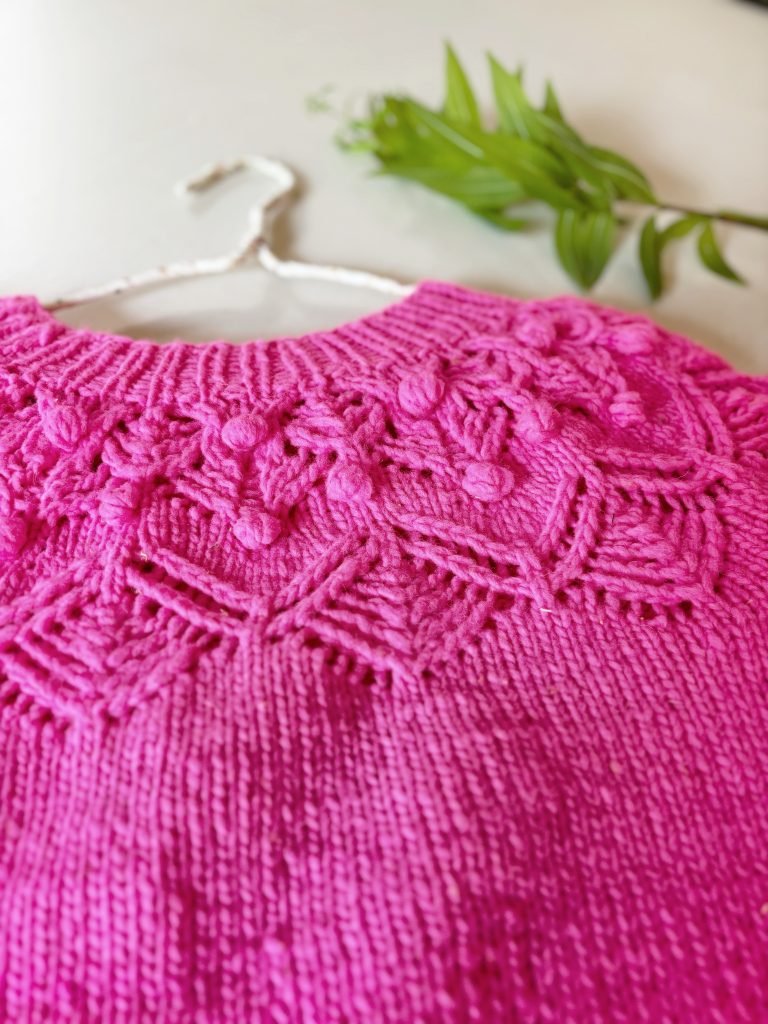
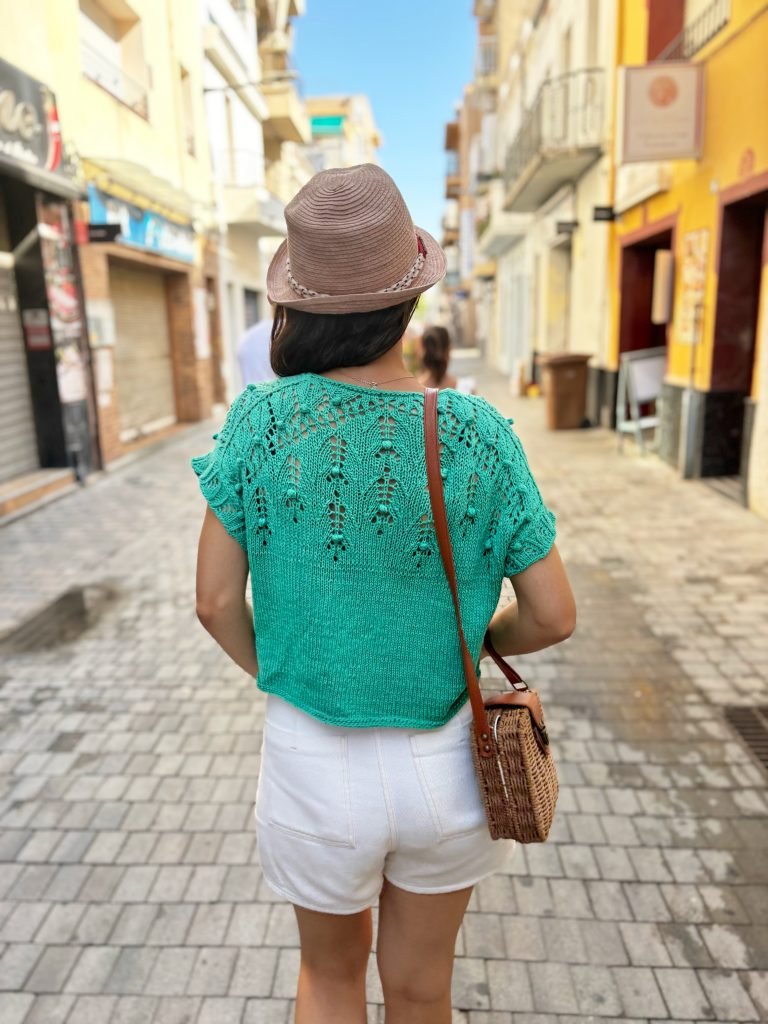
Many people tell me they can recognise my knitted garments simply by looking at a photograph. Lace, texture and relief are an essential part of the design language I use in my work, and bobbles are one of the techniques I rely on most to reinforce that identity.
Bobbles add volume and character to knitted fabric and can transform a simple stitch pattern into a striking decorative element. As with many techniques, some knitters love bobbles while others prefer to avoid them. If you enjoy bobbles, this post is intended to help you knit them with greater ease and confidence.
Here you will find several ways to knit a bobble, along with a video in which each technique is demonstrated step by step.
Different Ways to Knit a Bobble
There are several methods for working a bobble, and not all of them produce the same result or require the same process. Below are three options so you can choose the one that best suits your knitting style and the finish you are looking for.
Option 1: Knitting a Bobble Using a Crochet Hook
A crochet hook is a great ally when learning how to knit bobbles. It makes it easier to pull the yarn through the loops created to build volume and helps maintain more consistent tension.
The crochet hook should not be larger than the knitting needle being used. In many cases, using a hook approximately 0.5 mm smaller than the needle works particularly well.
Steps:
- Insert the crochet hook into the designated stitch and pull up a loose loop.
- Yarn over and pull up another loop. Repeat this action two more times. You will have a total of seven loops on the hook.
- Yarn over and pull through all seven loops. Work one chain stitch to secure the bobble.
- Bring the hook to the front of the work and place the left leg of the previous V-shaped stitch onto the left needle.
- Yarn over and pull through the remaining two stitches. The bobble is complete. Transfer the stitch to the right needle.
This method is especially useful for knitters who prefer a more guided process or are just beginning to incorporate bobbles into their projects.
Option 2: Knitting a Bobble Without a Crochet Hook
This option follows the same principle as the previous technique, but without using a crochet hook. All movements are carried out directly with the knitting needles.
For this method to work smoothly, it is essential to control yarn tension and avoid tightening the loops too much. This will make it easier to draw the yarn through all the stitches and achieve a clean, well-defined bobble.
A detailed video demonstration of this technique can be found below.
Option 3: Popcorn Stitch with Extra Volume
When a more pronounced relief is desired, the popcorn stitch is an excellent alternative. Although it is not a classic bobble, it creates significantly more volume and a very distinctive texture.
The popcorn stitch can be worked using 3, 5 or 7 stitches, depending on the amount of volume required. Below is an example worked over 7 stitches.
Example: 7-stitch Popcorn Stitch
- Step 1 (RS): K1, yo, K1, yo, K1, yo, K1. One stitch becomes seven stitches. Turn.
- Step 2 (WS): P7. Turn.
- Step 3 (RS): K7. Turn.
- Step 4 (WS): P7. Turn.
- Step 5 (RS): K7tog. Knit the seven stitches together, reducing back to a single stitch.
To ensure the popcorn remains on the right side of the fabric, on the following wrong-side row, before purling the popcorn stitch, lift the strand immediately after the popcorn stitch with the left needle and knit it together with the popcorn stitch.
This stitch is used in the Amelie Shawl, designed as part of the 20 Shawls from the Movies project, where the texture was inspired by the raspberries featured in the film Amélie.
A Tip to Prevent the Bobble from Pulling to the Wrong Side
On the row following the bobble, lift the strand located between the bobble stitch and the preceding stitch, and knit both stitches together. This small adjustment helps close the gap at the base of the bobble and improves stability, preventing it from pulling through to the wrong side of the fabric.
Video: How to Knit the Three Bobble Options
In the video below, all three techniques described in this post are demonstrated in detail.
Do you want to practice bobbles?
Several patterns include bobbles worked using these methods. You can check them here. Exploring different projects is an excellent way to practise the technique and gain confidence.
I hope these tips help you when knitting bobbles and adding texture and relief to your knitted garments. If you feel inspired to try them, I invite you to watch the video and choose a pattern that features bobbles.
I would love to see your progress and finished projects. Feel free to share them on Instagram and tag me @ileradebu.