Lately, I’ve been knitting quite a few berets, and although each design has its own magic, there’s one detail that always makes a difference: how to start a beret from the top. It’s a small, almost discreet step, but it’s the beginning, and it truly matters. The center looks neat, the shape settles better, and lace patterns open up beautifully.
In this post, I want to share the method I use to start my berets from the crown—the same one used in Inflorescencia, Fauna, and Flora—to achieve a firm, round, and clean start. I’m also including a YouTube knitting tutorial where you can see the process in real time, exactly as I do it while knitting.
Why Start a Beret from the Top (and Why I Love It)
Knitting a top-down beret has many advantages, but there are two that have truly won me over:
Control the size from the very beginning. You can adjust the rate of increases as you go—whether your gauge differs from the pattern, you’re designing a beret from scratch, or you’re using a different yarn weight. The maximum diameter of my berets usually ends up around 26 cm. Once the size looks right, simply transfer the stitches to a long circular needle so you can stretch the piece fully, measure it, and try it on. It’s much better if it’s already blocked, as this prevents surprises later if the fabric grows after blocking.
See the final shape early on. This is incredibly motivating. The beret becomes a small jewel that gradually emerges, forming geometric shapes—from simple stockinette stitch berets to those with lace patterns. When you start from the top, the motifs—lace, spirals, or textured stitches—grow from a perfectly defined center, bringing balance and harmony to the final design.
How to Achieve a Clean and Beautiful Start
When working from the crown down, the most important thing is making sure the center is tightly closed with the right tension. I also like to include a small stem at the center of the beret, worked as a 4-stitch i-cord.
In the video below, I show:
- How to cast on the first 4 stitches
- How to work the i-cord
- How to join in the round and begin the increase rounds so the structure is solid from the very first round
It’s a simple knitting technique once you get the hang of it, and above all, very satisfying—the improvement in the shape and finish of the beret is immediately visible.
Video: How I Start My Berets from the Top
In the video, I show step by step how I cast on and begin my top-down berets, so you can repeat the process with complete confidence.
Circular Needles vs Double-Pointed Needles
Since circular needles became widely popular, double-pointed needles (DPNs) seem to have fallen out of favor. However, I’ve found myself returning to them when knitting the very beginning of berets.
Although it’s possible to work the start using circular needles with the Magic Loop technique, I personally find it simpler and more straightforward to begin with double-pointed needles. They offer greater control at this stage and make it easier to manage a small number of stitches when shaping the crown of the beret.
When starting a top-down beret, the number of stitches is very small and the circumference extremely narrow. For this reason, double-pointed needles often work better than circular needles in the first few rounds:
- No cable tension: with so few stitches, the cable on circular needles tends to pull too much, making it harder to join in the round.
- They help prevent twisting: because the work is distributed across several needles, it’s easier to see whether everything is properly aligned.
- More control over early increases: the first rounds feel more stable, and working the increases is simpler and more precise.
- A cleaner, more compact start: the center of the beret ends up rounder and more even.
After a few rounds, once there are enough stitches on the needles, you can switch to circular needles without any issues.
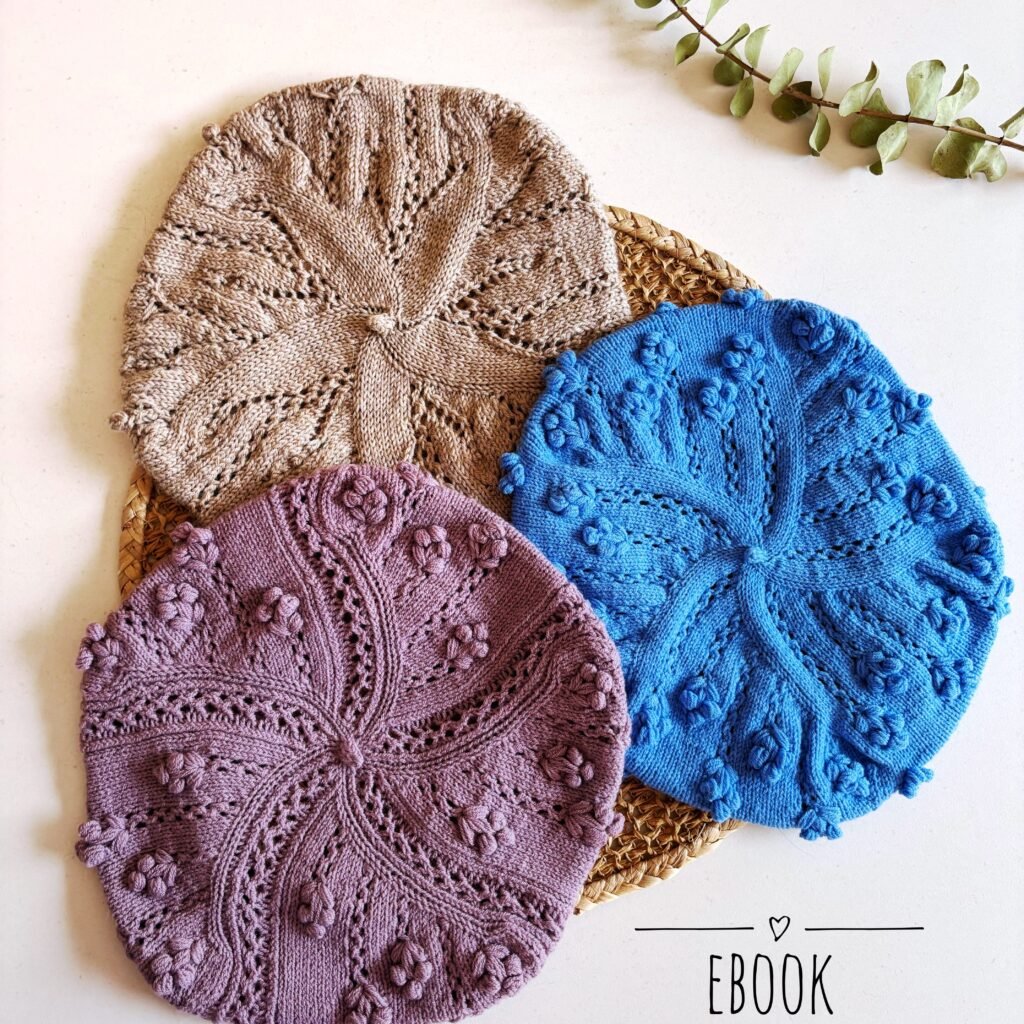
How This Cast-On Is Applied in My Three Berets
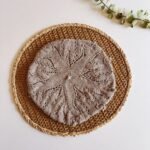
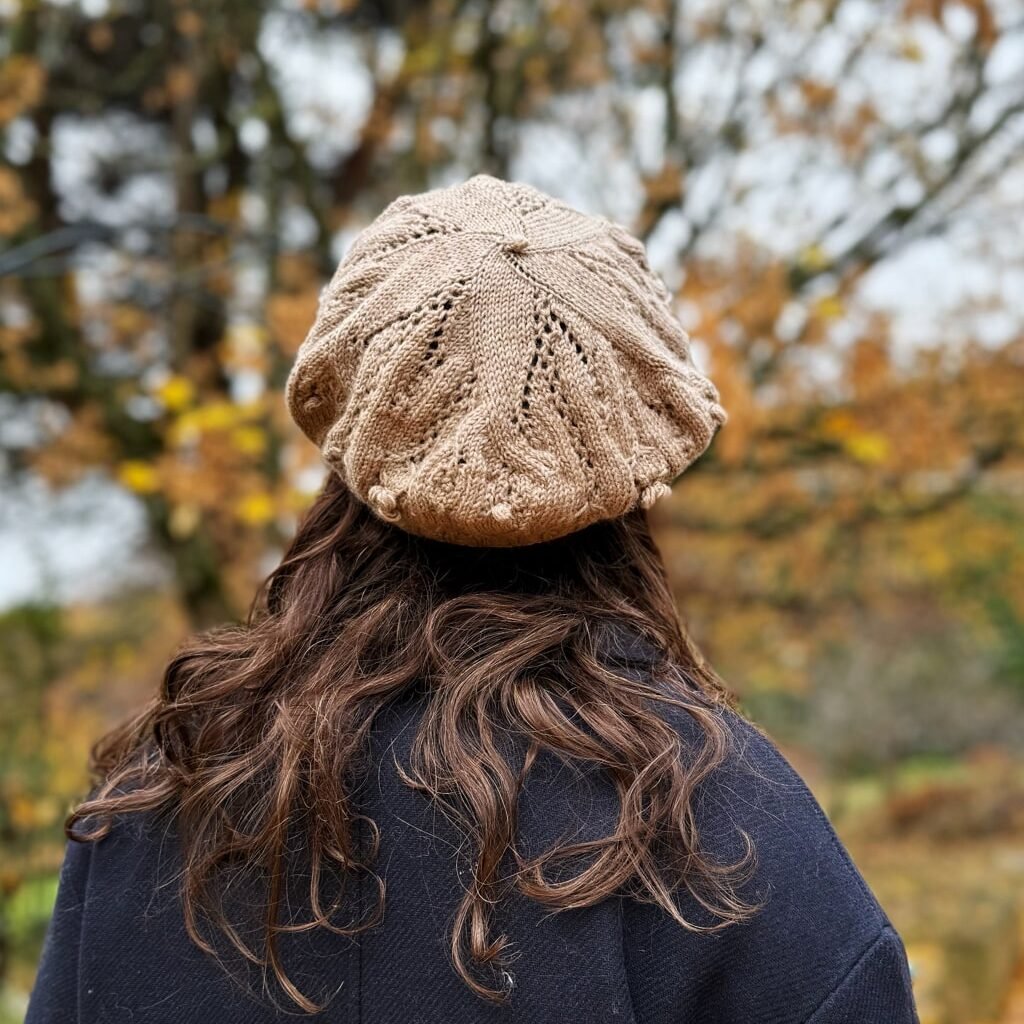
In Inflorescencia, this firm and well-defined center allows the lace motifs to open gradually and evenly, creating a balanced floral effect that radiates naturally from the crown.
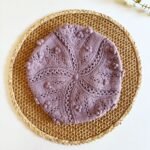
In Flora, beginning with this compact, round center is key to achieving the smooth transition between increases and decorative elements, helping the geometric motifs emerge clearly and harmoniously.

In Fauna, the same clean start provides a stable base for the textured and rhythmic stitch patterns, ensuring that the structure of the beret remains consistent as the design grows.
Want to Knit More Than One Beret? Put It into Practice with the Ebook
You can start by knitting a simple stockinette beret, and if you feel like taking it a step further, you can also venture into lace berets.
In the Beret Collection ebook, you’ll find the knitting patterns for all three berets, so you can knit them in any order you like, depending on your mood or skill level.As a thank-you for reading this article, you can use the code ebook-25 to receive a 25% discount on the Beret Collection ebook.
I hope this small tip helps you as much as it helps me when knitting berets. Sometimes, the simplest details are the most enjoyable—and the ones that make the biggest difference to the final result.
If you feel like giving it a try, I invite you to watch the video and choose your favorite beret.
And if you decide to cast on, I’d love to see your progress. Feel free to share it on Instagram and tag me @ileradebu.